

Last Updated on: Sep 25, 2026
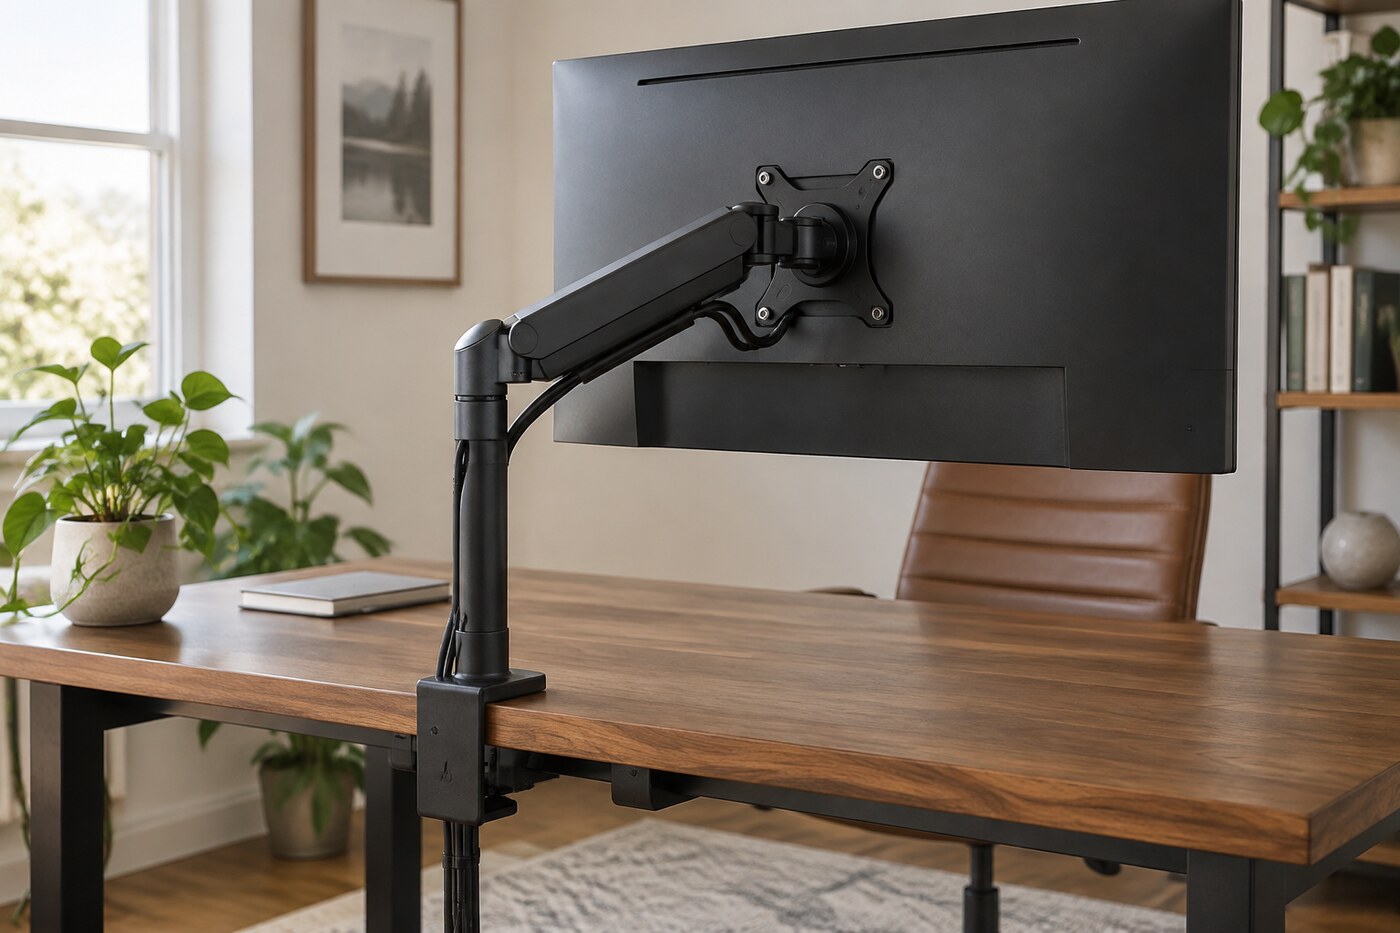
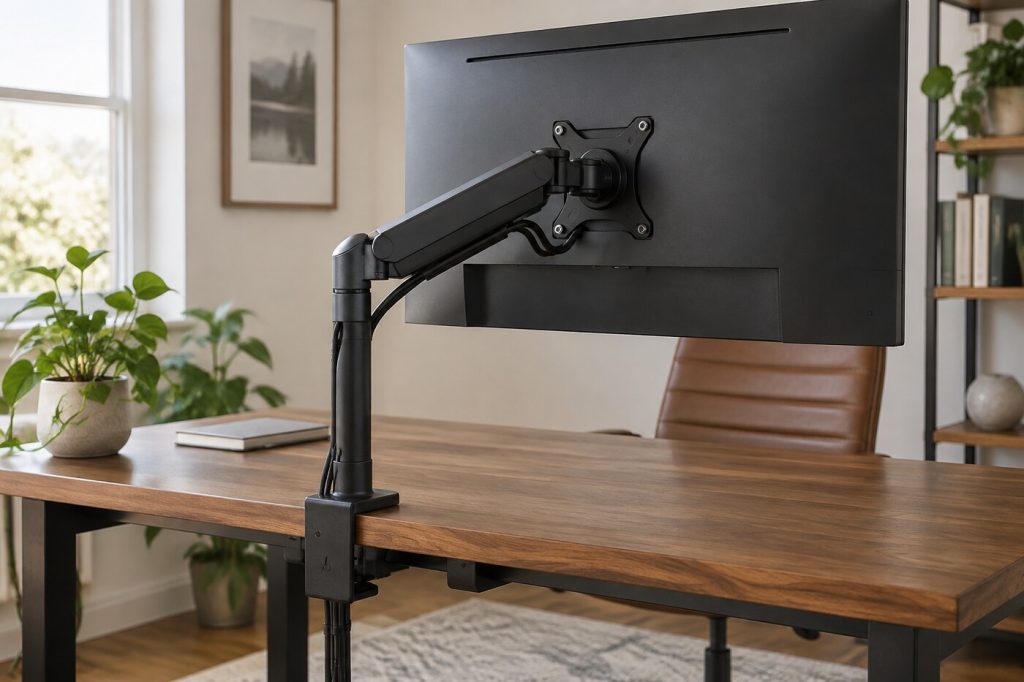
A monitor arm can clear space beneath a screen and make it easier to place the display where you can see it comfortably. But the wrong arm can fail to fit your monitor, grip your desk poorly, or stop short of the position you need. Before comparing springs or finishes, collect three facts: the monitor’s actual weight without its stand, its mounting pattern, and the desk’s edge thickness and construction. These eight retailer listings give different ways to build a single-screen setup, not a one-size-fits-all ranking.
What We'll Cover
Think about the complete path of movement. Do you need to pull the monitor toward a deeper desk, move it aside for a second task, or simply raise it a few inches? A basic pole mount may be enough when the screen rarely moves. A gas-spring arm is more useful when several people share the desk or you regularly switch positions. The additional joints also need clearance behind and beside the desk.
Top Monitor Arms
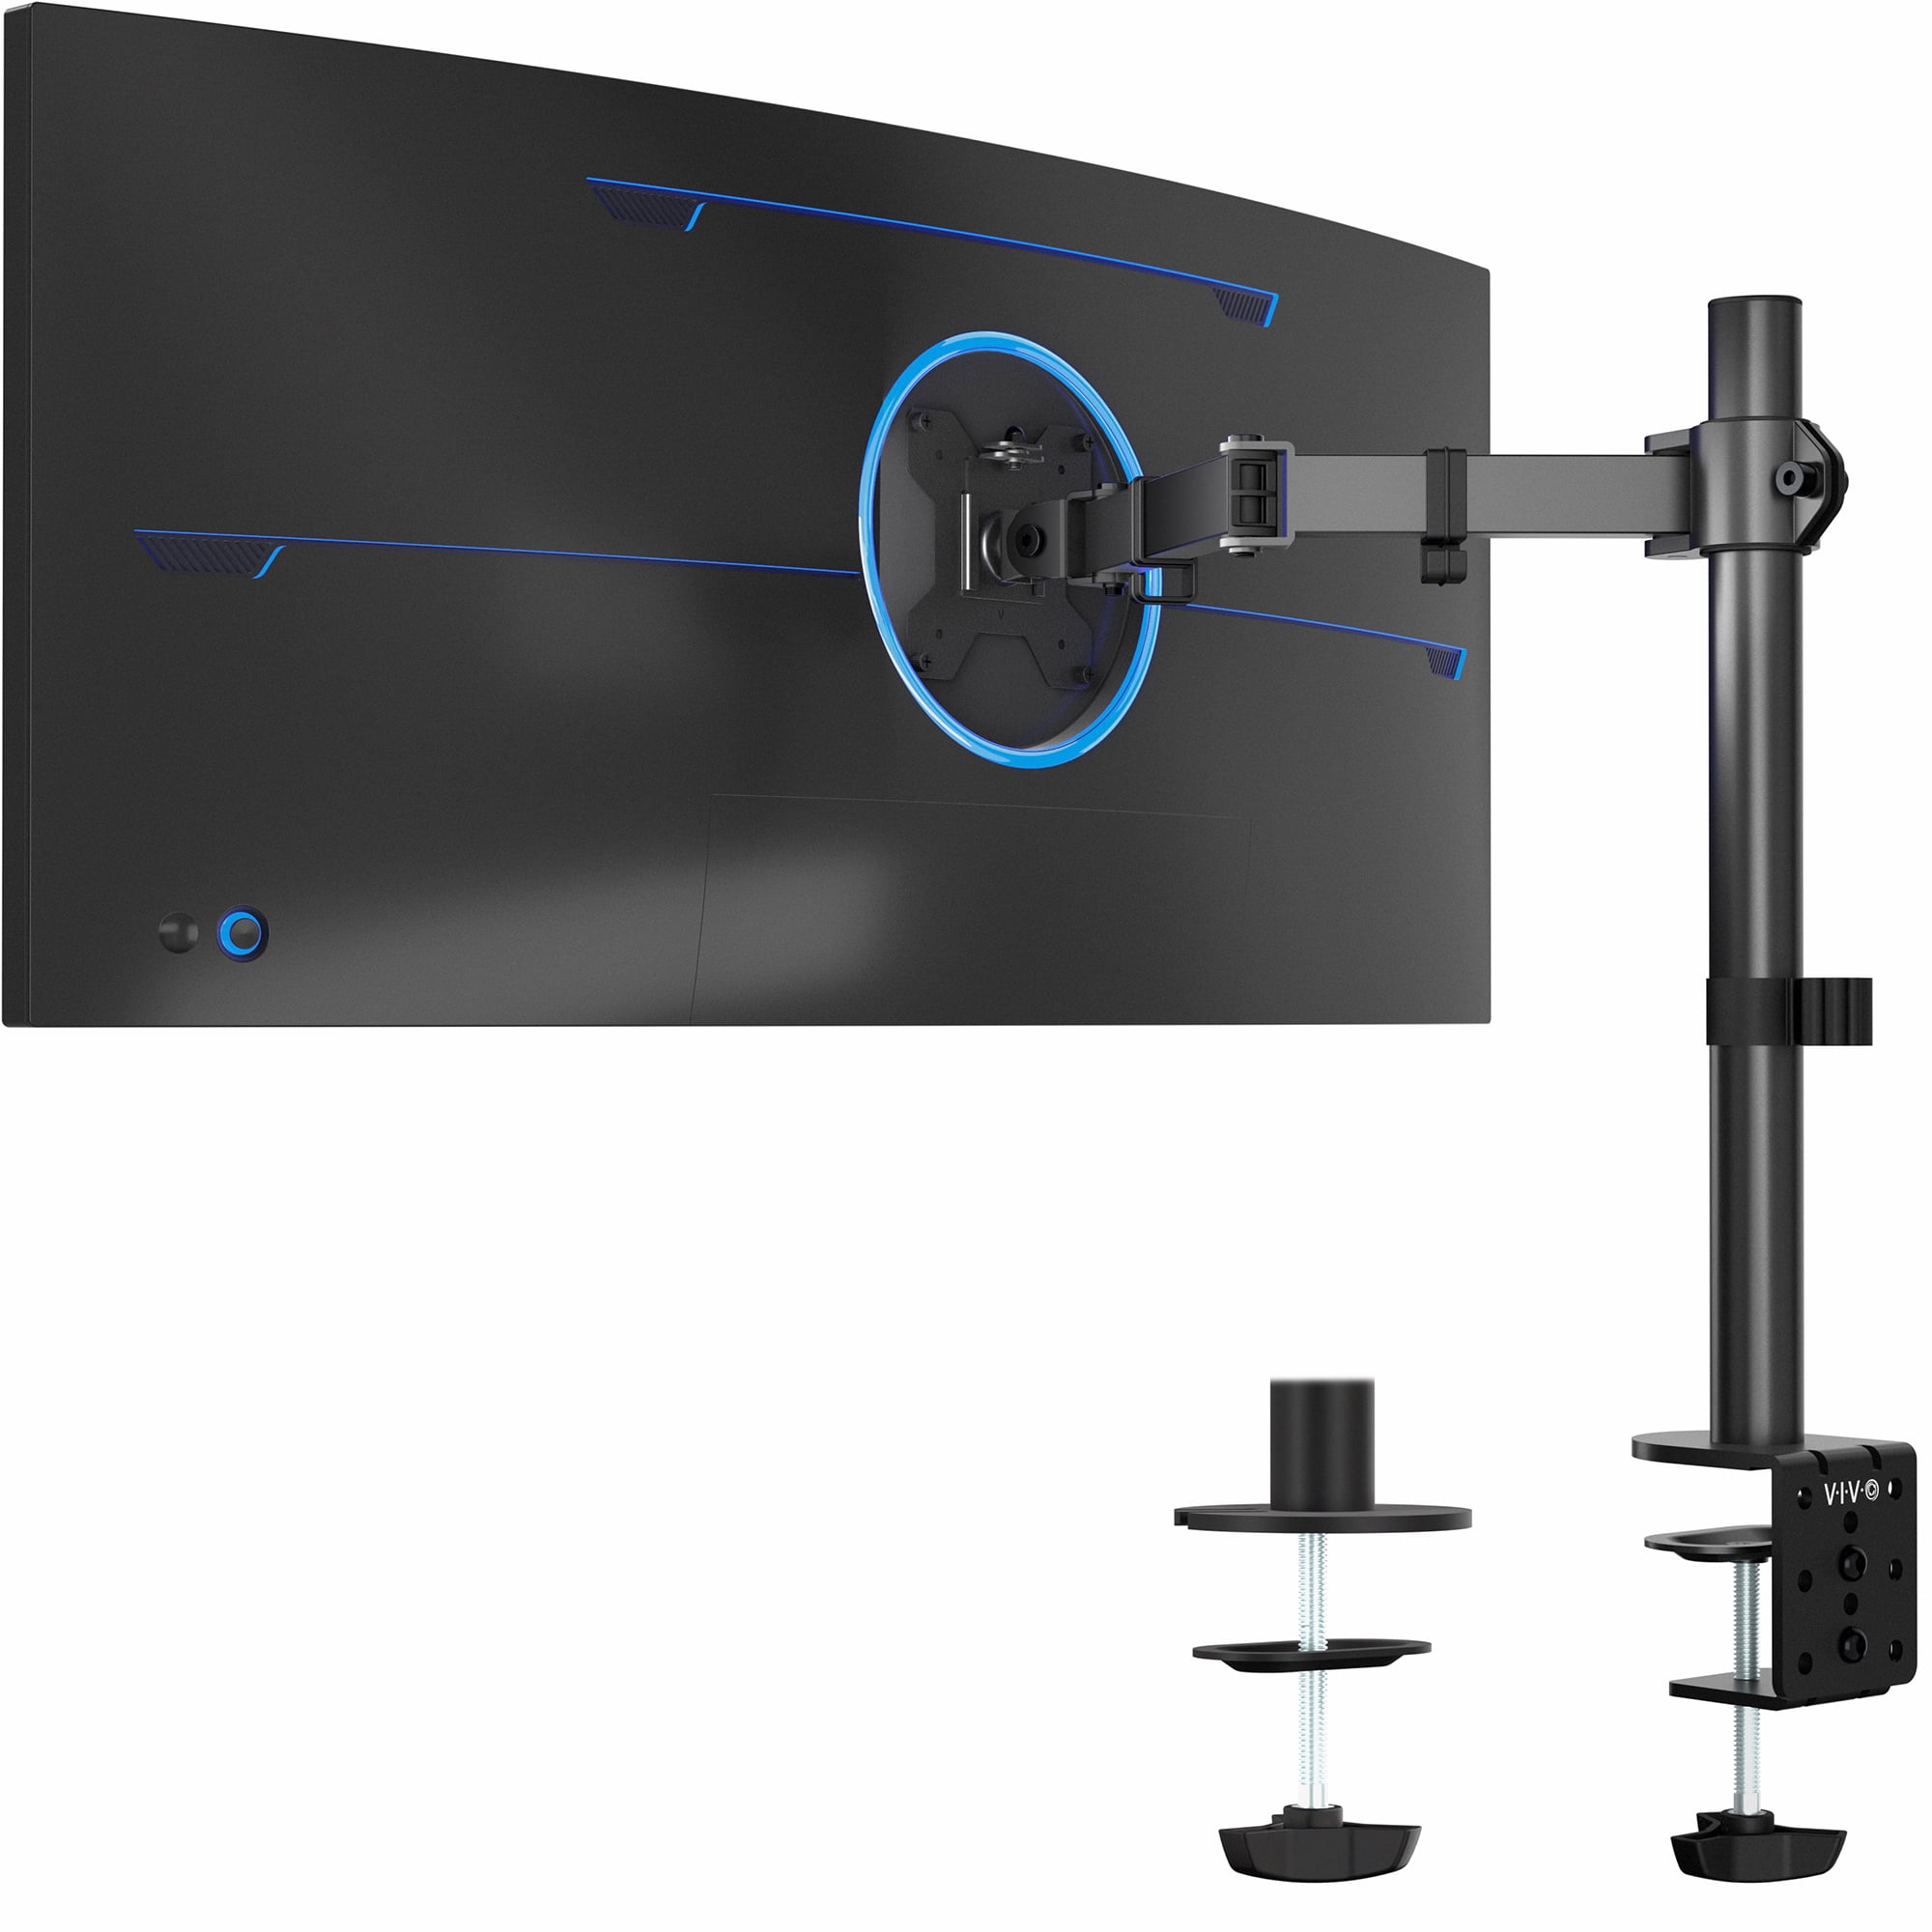
Check the monitor before the arm
The VESA mounting pattern is usually measured as the horizontal and vertical spacing between four mounting holes on the back of a monitor. Common arms support 75-by-75 and 100-by-100 millimeter patterns, but do not assume your screen has exposed mounting holes. Look at the model manual for its mount compatibility and whether a recessed back needs spacers or a separate adapter. An arm’s screen-size range alone does not establish that its bracket will fit.
Weigh the monitor after removing its factory stand, then compare that number with the arm’s minimum and maximum supported load. The lower limit matters with spring-loaded arms: a monitor that is too light may rise on its own even after tension adjustment. The upper limit is not a target to exceed, and an unusually wide or curved screen may impose additional leverage. Check the maker’s specific guidance for ultrawide displays and the exact model number.
- Mounting pattern: Find the four-hole spacing and any adapter required.
- Display weight: Use weight without the factory stand; include attached accessories if the maker requires it.
- Size: Screen diagonal is a starting point, not a substitute for the weight and mounting limits.
- Ports: Make sure the arm and plate will not block power, HDMI, USB, or ventilation.
Will the desk hold the clamp?
C-clamps grip the rear edge of the desktop, while grommet mounts pass a bolt through a suitable hole. Both can work when the desk material and thickness meet the arm maker’s requirements. Check the actual clamping range and the amount of flat surface required above and below the desk. A thick rear apron, cable tray, beveled lip, or drawer may prevent a clamp from sitting squarely. A desktop with a fragile veneer, hollow core, or glass surface needs special care; do not assume it is safe because a clamp physically closes around it.
If the desk has a built-in cable opening, measure the opening and verify the grommet hardware fits it. Do not drill a new hole in a rental or valued desk without considering the change. Some arms include both attachment methods and others require an accessory kit. Use the manufacturer’s plate, bolts, and torque instructions rather than improvising with a spacer or squeezing the clamp harder against an unsuitable surface.
Measure wall clearance behind the desktop. An arm may fold backward before swinging forward, so a desk against a wall can limit its range. If you share the desk with a shelf or lamp, sketch the screen’s full sweep before ordering. Consider how cables will move as the screen does, and leave enough slack to avoid pulling on the ports.
Choose the movement you will actually use
A pole-mounted bracket often provides vertical adjustment along a fixed upright and several pivot points. It can be a practical way to elevate a screen and reclaim desk space. A spring-assisted design can move more fluidly through a larger height range when properly matched to the screen’s weight. Neither is inherently better: a stable arm with the right reach is more useful than a highly adjustable one that collides with the wall.
Look at the advertised height range and forward reach separately. A monitor can be high enough at the rear of the desk but too far away to read, or close enough only when it blocks part of the keyboard. Tilt helps with reflection, rotation can support portrait orientation, and swivel lets you share the screen with someone beside you. Check whether your monitor can actually rotate with its cables attached and whether the display’s bottom edge will clear the desk.
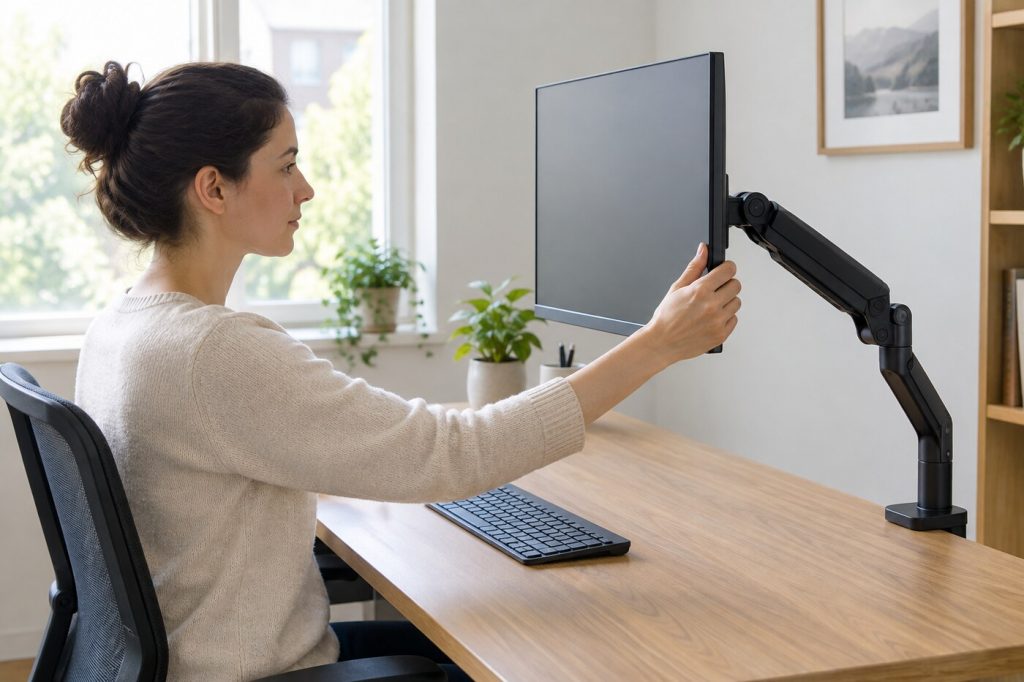
Screen position and eye comfort
OSHA’s computer workstation guidance recommends putting a monitor directly in front of the user, at least 20 inches away, with the top line of the screen at or below eye level. It also describes a generally preferred viewing distance of 20 to 40 inches, adjusted so the text is readable while the head and torso remain upright. An arm is a tool for reaching that position, not a reason to stretch the screen to the far edge of its motion.
Place the keyboard, desk, and chair first, then bring the monitor into view. If you have to lean toward small type, increasing text size may help more than pulling the display uncomfortably close. Avoid placing the screen where a window causes glare; OSHA suggests setting it perpendicular to the window. Test the normal seated position, not only a photo-friendly arrangement at the center of an empty desk.
Eight current listings to compare
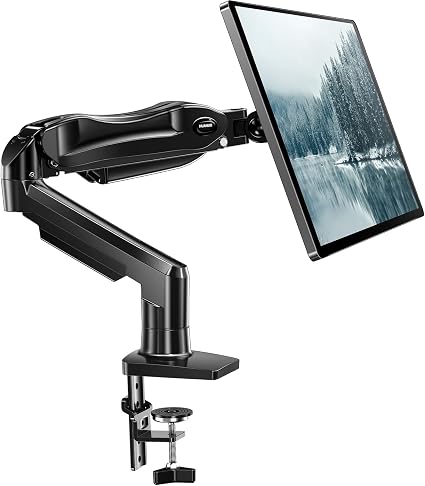
Great Adaptability: This HUANUO single monitor arm fits 13-32 inch monitors, holds 4.4-19.8 lbs, suitable for VESA patterns of 75x75mm & 100x100mm. This monitor mount is specially designed for ergo...
HUANUO’s FlowLift lists a 13–32 inch range, 4.4–19.8 pound load, and both clamp and grommet base. Check your screen weight against both ends of that range and measure the underside of the desk before choosing the clamp.
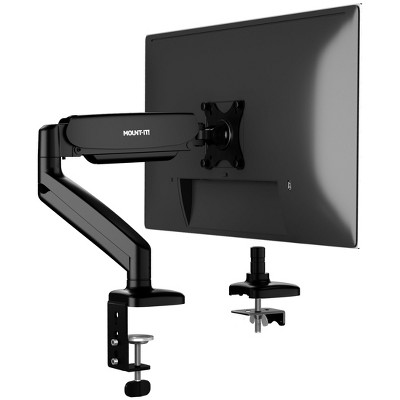
The Mount-It single arm at Target lists full motion and both clamp and grommet options. Confirm the bracket pattern and the exact model’s load limit on the live product page; a size claim alone is not enough.
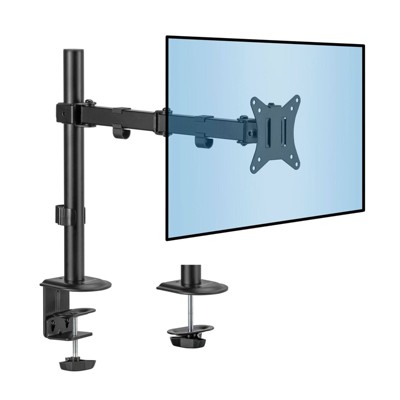
Screen Compatibility: This single-arm mount fits screens that weigh up to 22 lbs with backside mounting (VESA 75x75mm or 100x100mm). This covers most monitors on the market between 13” and 32”, as ...
VIVO’s STAND-V001 is a pole-style arm with a listed 22-pound limit and clamp or grommet mounting. It could work for a screen that needs a stable raised location rather than frequent height changes. Check the separate ultrawide guidance.
Target lists a gas-spring single monitor desk mount for monitors up to 32 inches. Compare its weight range, mounting hole pattern, and edge-thickness range with your own equipment before relying on the screen-size line.
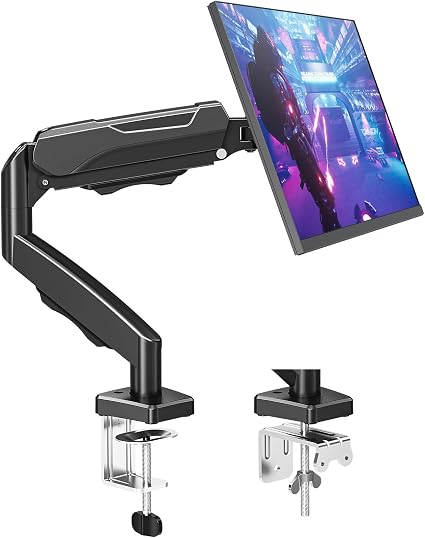
Adjustable Tension Arm for Perfect Balance: Built with a long-lasting tension system that has passed over 20,000 rigorous cycle tests before leaving the factory. The monitor arm supports monitors 4...
MOUNTUP’s full-motion single arm lists a 4.4–19.8 pound screen range and clamp/grommet base. Think about where its links will fold when the display is parked close to a wall.
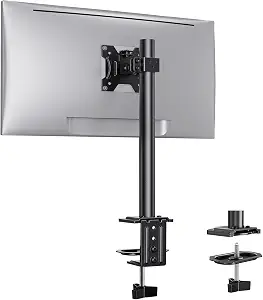
Easy Installation: The monitor stand is easy to install with your choice of C-clamp or grommet hole. The C-clamp offers a drill-free, quick installation for a hassle-free setup. To ensure proper in...
ErGear’s single monitor mount lists support up to 17.6 pounds and screens up to 32 inches. That lighter listed capacity makes it important to check the actual weight without the factory stand.
Walmart lists a VIVO single-screen desk mount with adjustable tilt. Verify the current seller, mounting hardware in the box, and desk fit rather than assuming every VIVO arm uses the same pole and clamp.
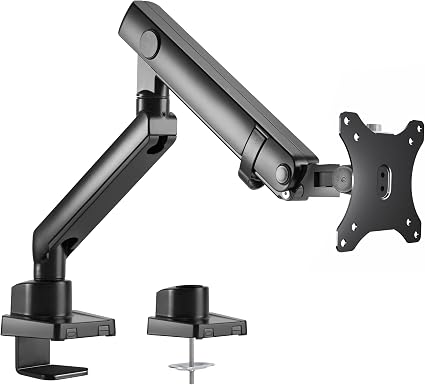
Ultrawide Compatibility: Fits most 17” to 40” ultra wide monitors on the market (both flat and curved screens). The quick-release VESA bracket has 75x75mm and 100x100mm mounting capability
Premium ...
The VIVO premium aluminum arm lists screens up to 40 inches. A larger-screen label is worth investigating if you have an ultrawide, but confirm actual weight, VESA pattern, and desk compatibility before buying.
Install and maintain the setup
Use two people for a large or awkward display when the manual recommends it. Secure the mount to a compatible desk, attach the monitor according to the included sequence, and check every fastener before letting the arm carry the full weight. For a spring-assisted model, adjust tension slowly while supporting the screen. Test the full range without forcing a joint. If the monitor falls or rises unexpectedly, stop and check the weight range and adjustment steps.
Route power and video cables with a loose loop at the moving joints. Move the display through its intended range while watching that no cable snags or strains a port. Recheck clamp tightness and hardware after initial use and whenever the desk is moved. Keep the installation guide and spare hardware labeled for that exact arm, especially if you change monitors later.
Questions before checkout
- Does the monitor have a supported VESA mount or a verified adapter?
- Is its stand-free weight within the arm’s full range?
- Can the clamp sit flat on a suitable desk edge, or is a grommet mount appropriate?
- Does the arm have enough height, forward reach, and wall clearance?
- Will cables and ports stay accessible through the intended motion?
Measure twice, then choose the simplest arm that meets the screen and desk requirements. The right hardware should hold the monitor securely, move where you need it, and allow a comfortable viewing position without becoming another adjustment project.
Workstation placement source: OSHA, Computer Workstations: Monitors.
The responses below are not provided, commissioned, reviewed, approved, or otherwise endorsed by any financial entity or advertiser. It is not the advertiser’s responsibility to ensure all posts and/or questions are answered.